
Solutions
Storage
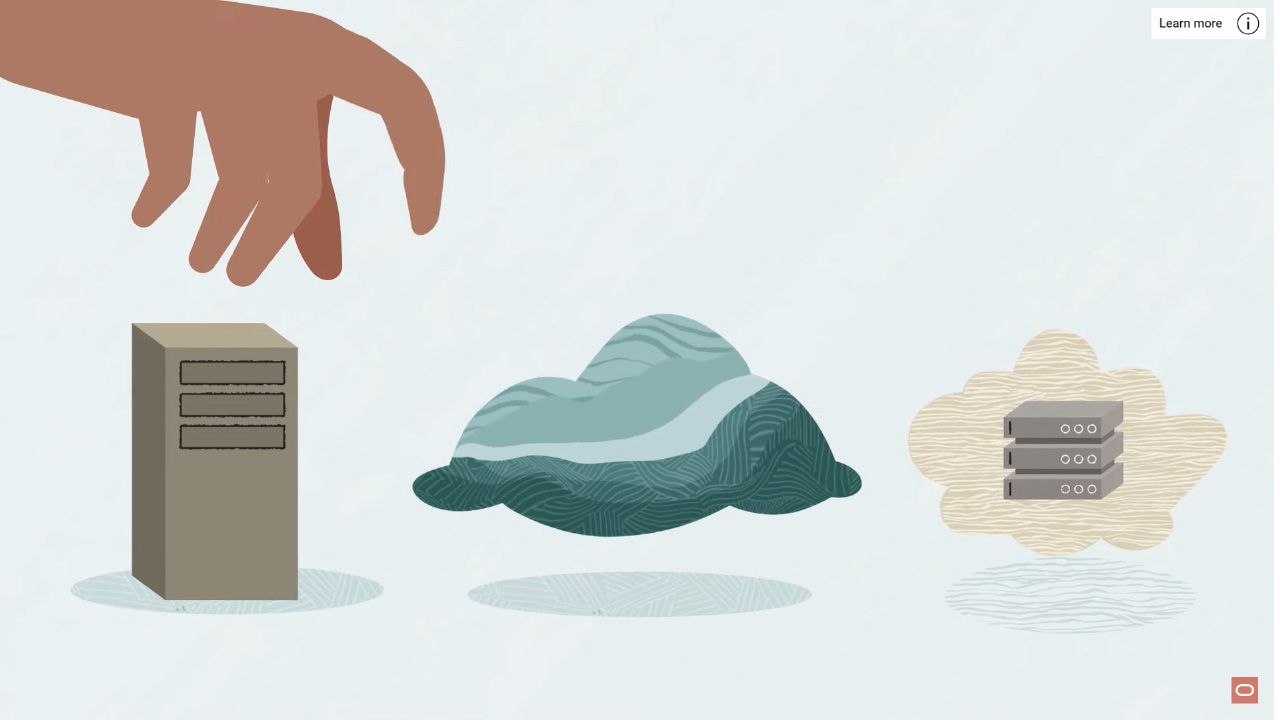
Oracle Cloud Infrastructure (OCI) Storage is a comprehensive cloud storage solution that offers high-performance computing and low-cost storage options for various workloads and use cases. Whether you need local, object, file, block, or archive storage, OCI Storage can provide you with the best performance, scalability, security, and reliability in the cloud.
What is OCI Storage?
OCI Storage is a regional service that lets you store an unlimited amount of unstructured data of any content type in the cloud. You can access your data from anywhere inside or outside the Oracle Cloud Infrastructure, as long as you have internet connectivity and can access one of the OCI Storage endpoints.
OCI Storage supports multiple storage tiers that offer cost and performance flexibility. The default storage tier is Standard, which provides high durability and availability for frequently accessed data. You can also choose Archive, which offers lower costs for infrequently accessed data that can tolerate longer retrieval times.
OCI Storage has a security-first design architecture that utilizes built-in tenant isolation, least privilege access, and data encryption at rest. All storage services are integrated into Oracle Identity and Access Management to centrally manage access and permissions.
OCI Storage also offers multiple management interfaces that let you easily manage storage at scale. You can use the Console, CLI, SDKs, REST APIs, or third-party tools to create, configure, and monitor your storage resources.
What are the benefits of OCI Storage?

OCI Storage delivers consistent high performance and scalability for your storage needs. You can get block volumes that scale up to 1 PB, file storage that can scale up to 8 EB, and local NVMe that scales to 2 TB. You can also use object storage and archive storage to store large amounts of data with high durability and availability.
OCI Storage also offers lower pricing and lower costs than the competition. Oracle's straightforward cloud storage pricing has no provisioning charges, complex pricing formulas, or pricing variances based on geography. OCI Block Volume costs approximately 70% less for a 1 TB volume than AWS gp3 at 16,000 IOPS.
OCI Storage is also compatible with various applications and services in the Oracle Cloud Infrastructure ecosystem. You can use OCI Storage to back up your databases, migrate your workloads, host your media files, analyze your data, and more.
How to get started with OCI Storage?
To get started with OCI Storage, you need to have an Oracle Cloud account and a compartment to organize your resources. You can sign up for a free trial account or request a paid account from the Oracle Cloud website.
Once you have an account and a compartment, you can create a bucket in the Object Storage service to store your objects. A bucket is a logical container that holds your objects. You can create multiple buckets in different regions and compartments.
To create a bucket, follow these steps:
- Open the navigation menu. Under Core Infrastructure, go to Object Storage and click Buckets.
- Choose the compartment where you want to create the bucket.
- Click Create Bucket.
- Enter a name for your bucket. The name must be unique within the namespace.
- Choose a storage tier for your bucket: Standard or Archive.
- Optionally, configure other settings for your bucket, such as encryption, tags, metadata, retention rules, etc.
- Click Create Bucket.
You can now upload objects to your bucket using the Console, CLI, SDKs, REST APIs, or third-party tools. An object is a discrete piece of data that has a name and some metadata. You can upload any type of data as an object, such as images, videos, documents, etc.
To upload an object using the Console, follow these steps:
- Open the navigation menu. Under Core Infrastructure, go to Object Storage and click Buckets.
- Choose the compartment where your bucket is located.
- Click on the name of your bucket.
- Click Upload Objects.
- Drag and drop files from your computer or click Browse to select files.
- Optionally, configure other settings for your objects, such as encryption, tags, metadata, etc.
- Click Upload.
You can now view and manage your objects in the Console or using other interfaces. You can also download or delete your objects as needed.